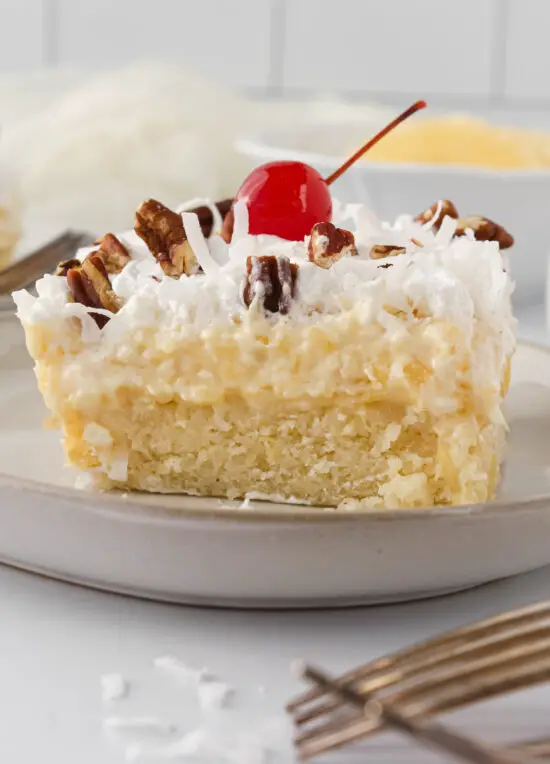
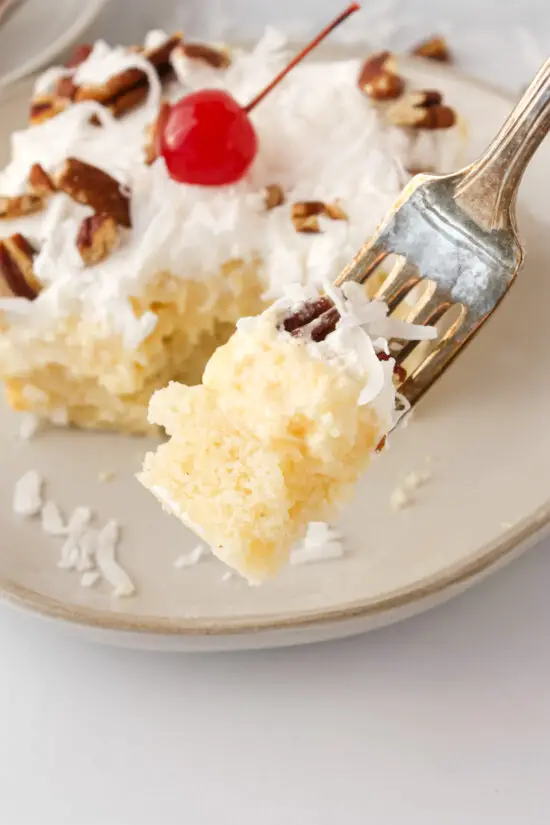
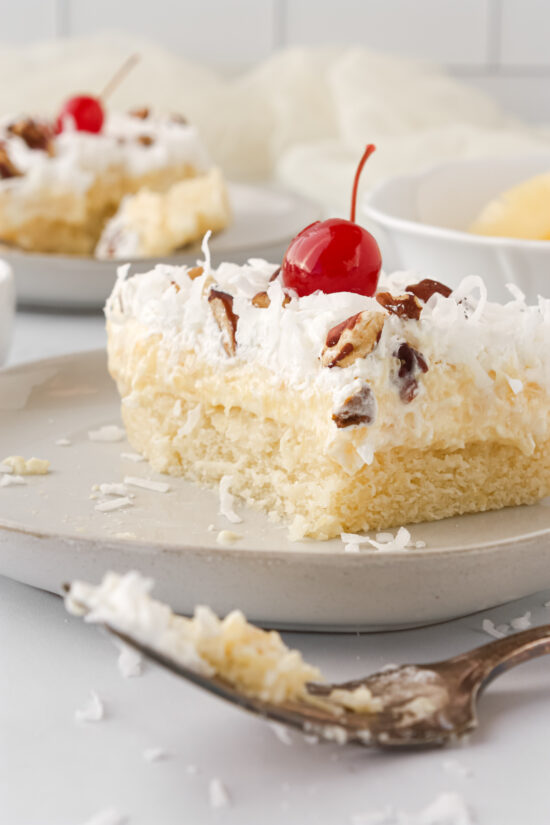
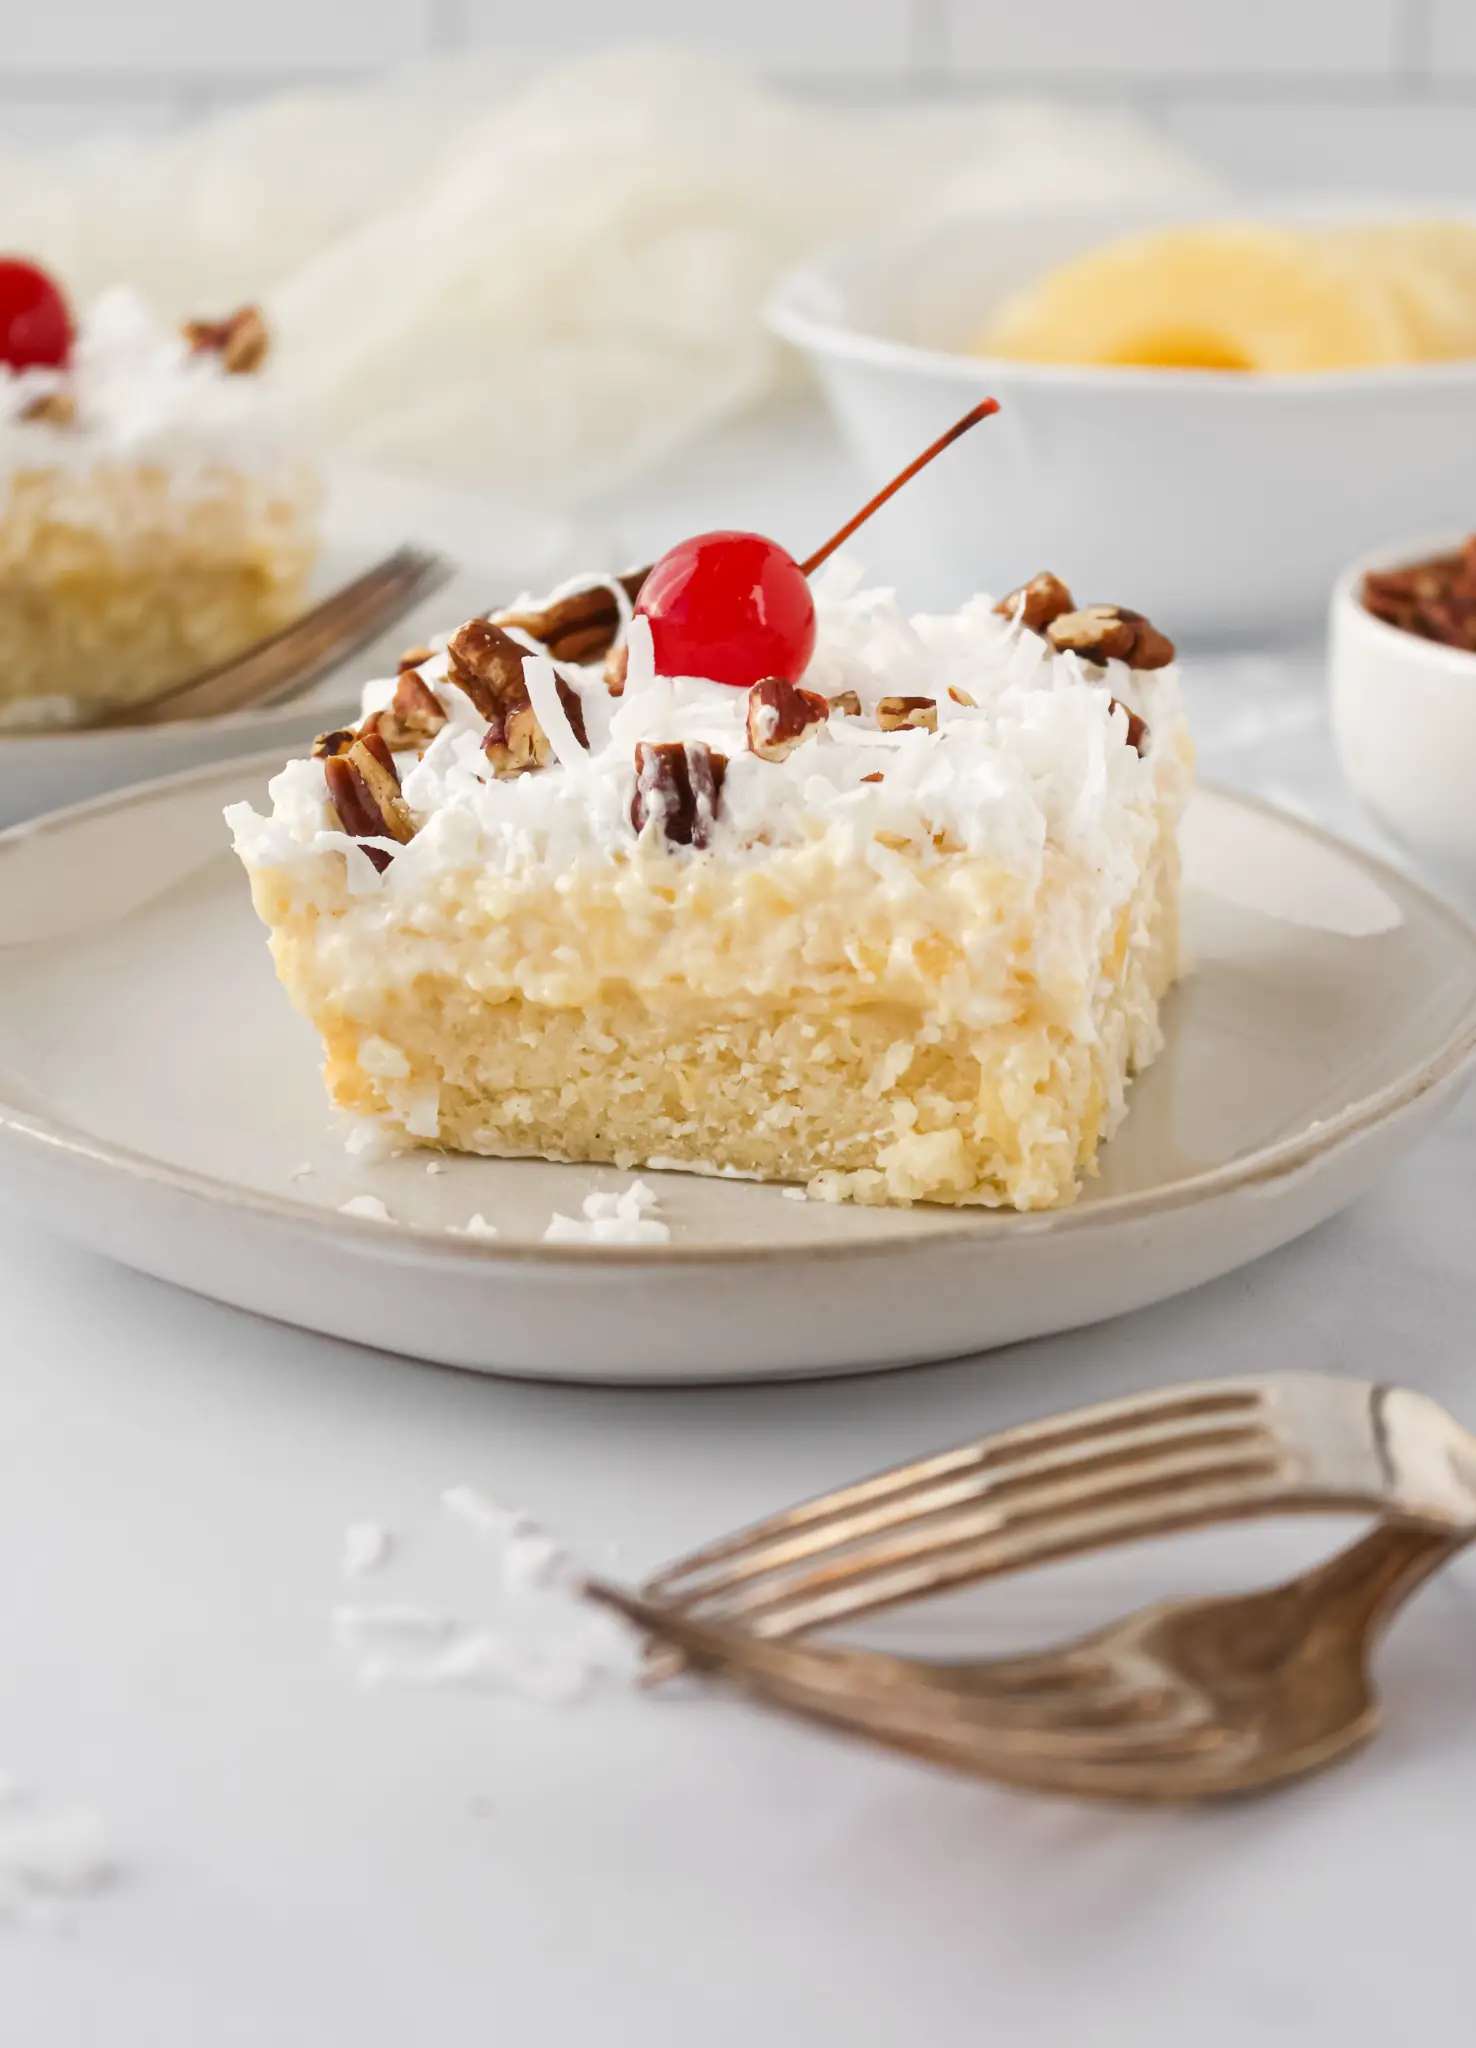
Indulge in the ultimate gluten-free treat with our Gluten-Free Hawaiian Dream Cake. This cool and creamy dessert is not only delicious but also incredibly easy to make!

This delicious cake is made up of three delectable layers. The bottom layer is an easy store bought gluten-free vanilla cake mix…doesn’t get easier than that!
Then, topping the cake is a sweetened cream cheese pineapple pudding mixture (it’s finger licking good). Finally, it’s topped off with Cool Whip and sprinkled with sweetened coconut shavings and chopped pecans.
Oh, and don’t forget the optional, but very appropriate, cherry on top!

Whether it’s a special occasion or just a craving for something sweet, this pineapple dream dessert is sure to become a family favorite! You’ll love how quick and easy it is to whip up and how budget friendly it is, too!
Making Gluten-Free Hawaiian Dream Cake
Preheat oven to 350° and grease a 9×13″ baking dish, set aside.
Cake Layer (Bottom):
Drain pineapple and reserve the juice.
In a bowl, dump in cake mix, eggs, melted butter, juice, and water and blend on medium/high speed until mixture is combined and smooth.
NOTE: If using another brand of cake mix, follow the instructions on the back of package but still use 2 eggs and enough juice and water to equal 1 1/2 cups.
Pour batter into a 9×13″ baking dish and bake at 350° degrees for about 25 to 30 minutes or until toothpick inserted in middle of cake comes out clean.
Let the cake cool completely before adding the filling layer.
FILLING LAYER (MIDDLE):
Mix together the cream cheese, pudding, and milk until smooth. Fold in pineapple.
Spread filling on cooled cake.
Top Layer:
Dollop Cool Whip all over the top of pudding layer and carefully spread around with a spatula.
Sprinkle unsweetened coconut shavings and chopped pecans on top of the cake. Chill for 3-4 hours before serving.
Optional: Have maraschino cherries on hand so you can add a cherry to each slice of cake.

Want more summery dessert options? Try these:
Gluten-Free Blueberry-Peach Cobbler
Gluten-Free Lemon Cupcakes With Raspberry Frosting
Gluten-Free Strawberry Crunch Poke Cake

Ingredients
Equipment
Method
- Preheat oven to 350° and grease a 9×13" baking dish, set aside.
- Drain pineapple and reserve the juice.
- In a bowl, dump in cake mix, eggs, melted butter, juice, and water and blend on medium/high speed until mixture is combined and smooth.
- Pour batter into a 9×13" baking dish and bake at 350° degrees for about 25 to 30 minutes or until toothpick inserted in middle of cake comes out clean.
- Let the cake cool completely before adding the filling layer.
- Mix together the cream cheese, pudding, and milk until smooth. Fold in pineapple.
- Spread filling on cooled cake.
- Dollop Cool Whip all over the top of pudding layer and carefully spread around with a spatula.
- Sprinkle unsweetened coconut shavings and chopped pecans on top of the cake. Chill for 3-4 hours before serving.
- Optional: Have maraschino cherries on hand so you can add a cherry to each slice of cake.
Nutrition
Notes
Tried this recipe?
Let us know how it was!If you make this Hawaiian cake recipe, please comment below and leave us a star rating.
Follow us! Come find us on Pinterest and Instagram. Also, Subscribe to our food newsletter so you never miss a single recipe we make!
Thanks for stopping by! Take care and happy eating.
Copyright © The Tickled Tastebud. All content and images are copyright protected. Do not use any images without prior permission. If you want to republish this recipe, make sure to re-write the recipe in your own words and only list ingredients making sure to like back to this post for the original recipe and directions.

Marcie
That’s awesome, so glad to hear!
Darlene
took it too a family event and any of it barely made it home
Mary Palmer
I love this dessert! So good & easy to make!