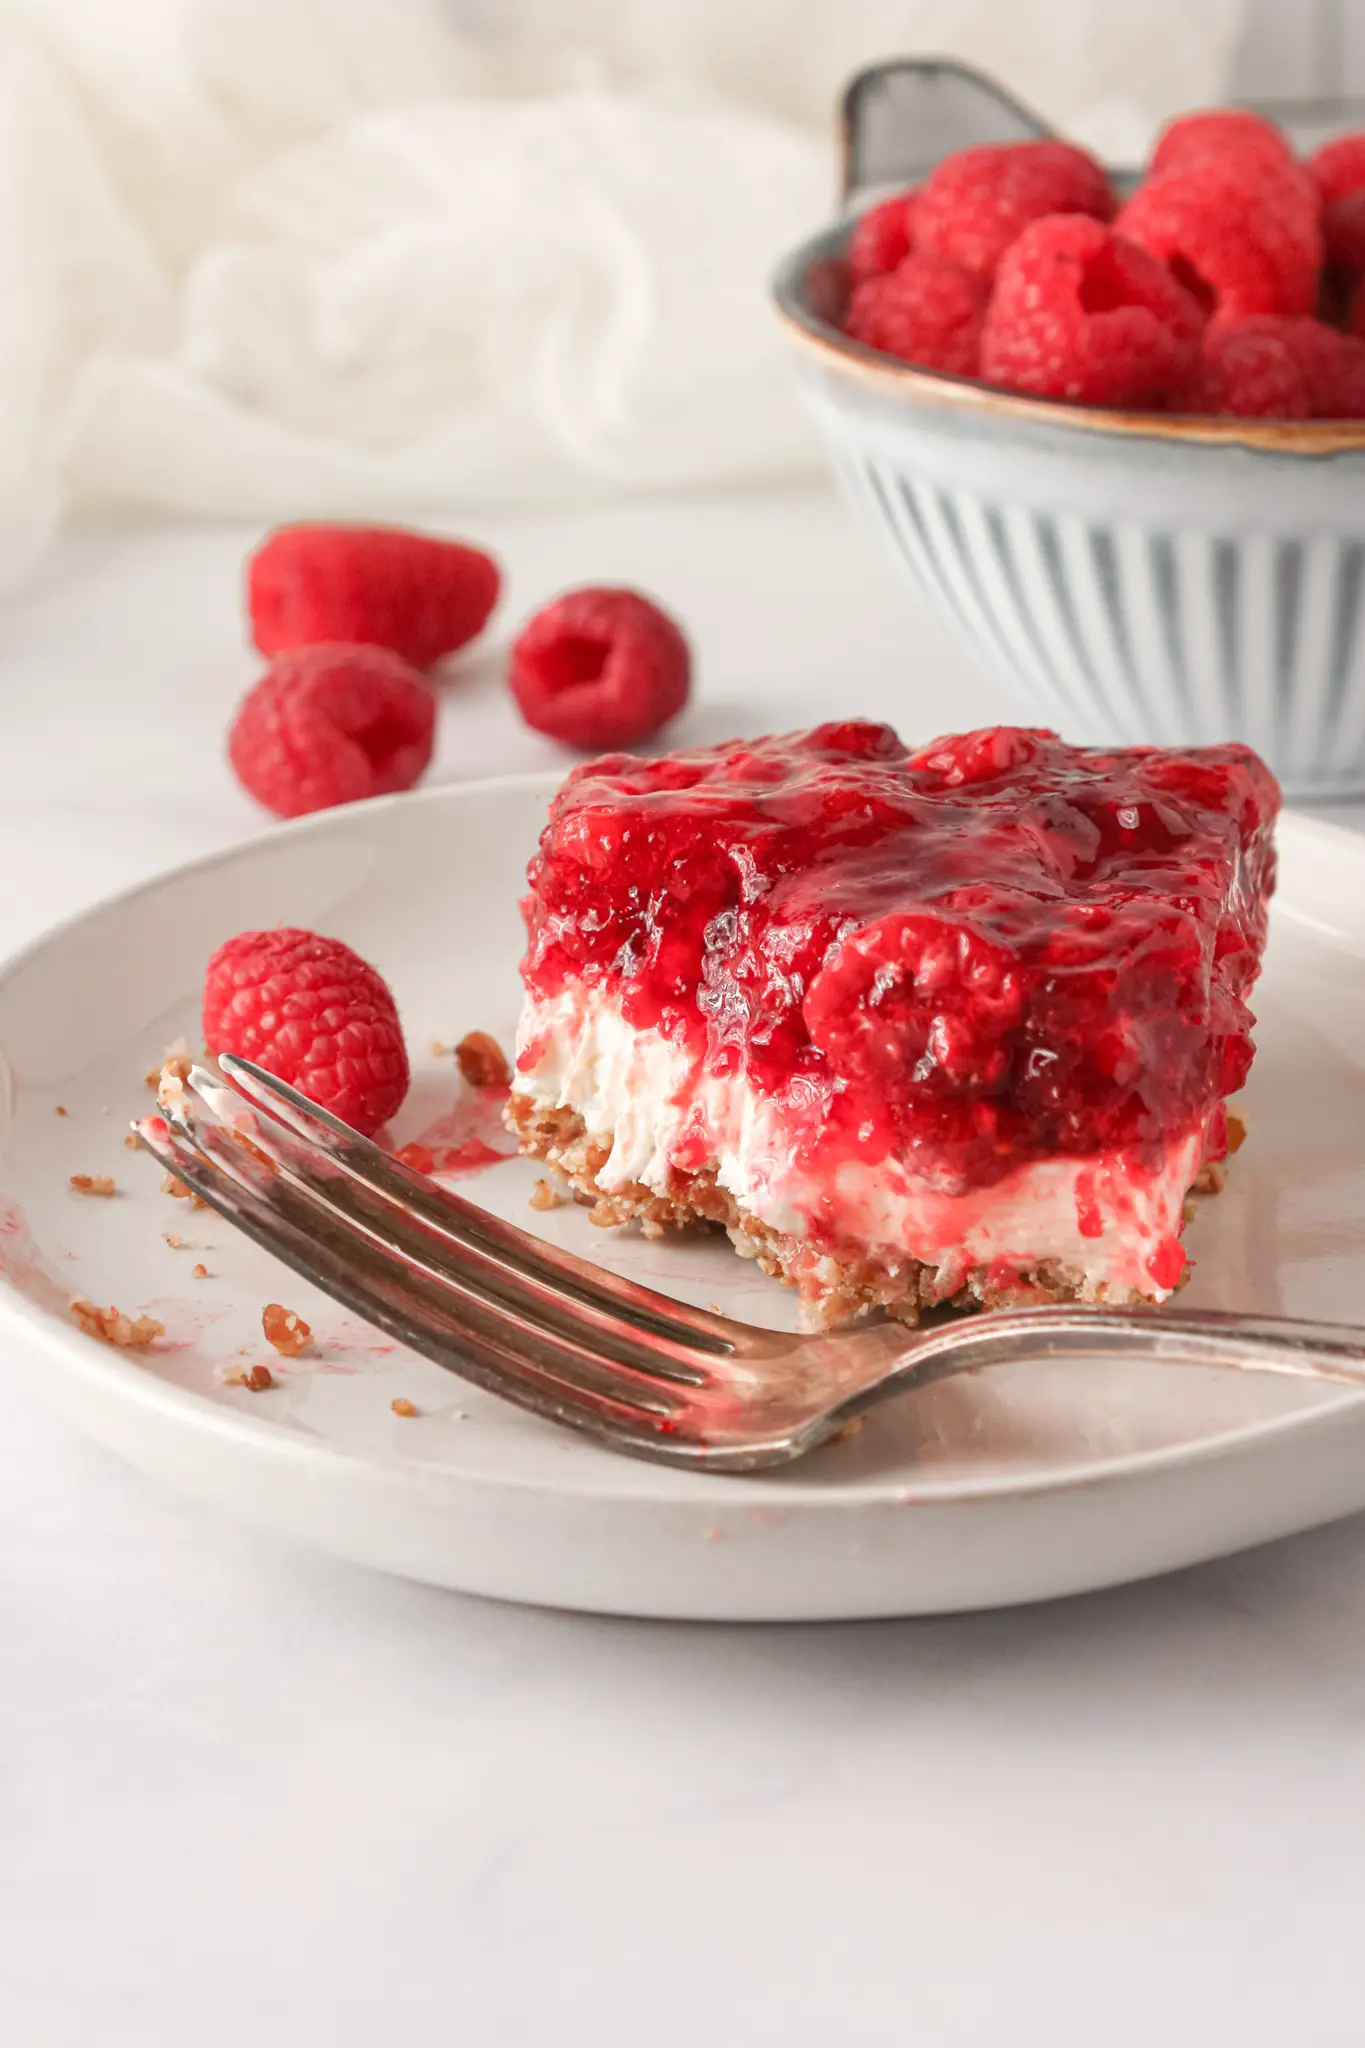
This yummy dessert has it all…salty, sweet, crunchy, creamy, and fruity! You’ll love all the fabulous flavors and layers in this gluten-free Raspberry Pretzel Salad.
If you’re looking for an easy dessert or even side dish, this is the one you’ll want to make. I’m a huge fan of fruity desserts and this one doesn’t disappoint.
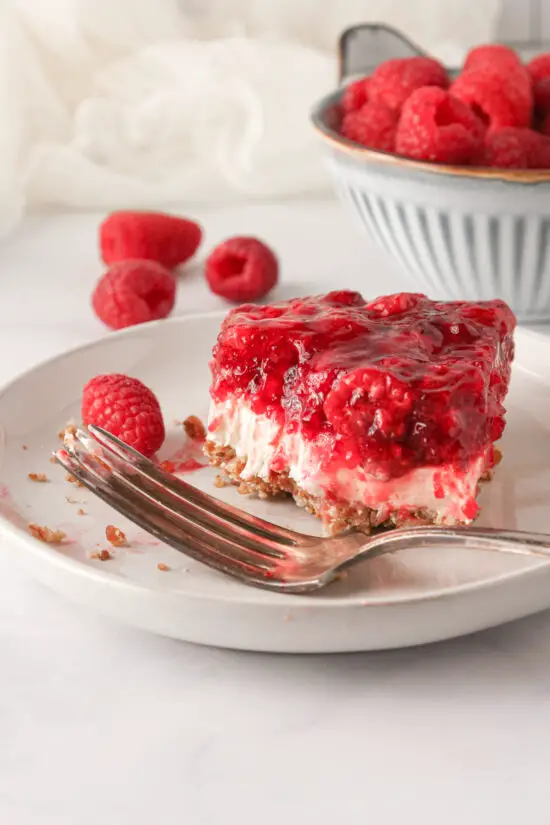
This Raspberry Pretzel salad is a perfect light dessert for the spring and summer months for all your potlucks, backyard BBQ’S, and family reunions you’ll attend. It’s so easy to make and easy to transport to your event.
It’s also ideal for Easter, Christmas, or any other holiday you can think of.
This dessert is not too sweet which means you can come back for seconds…trust me, my family did!
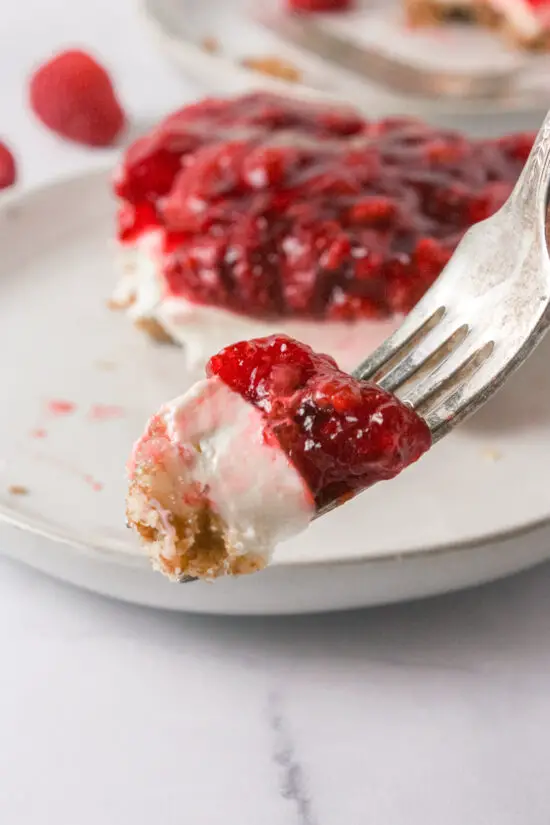
What are the Layers in Raspberry Pretzel Salad?
- Bottom layer (Crust) is a crunchy, salty base made of crushed up gluten free pretzels, sugar, and melted butter that is then baked to make it more firm to hold the other two layers.
- Middle Layer (Filling) is a creamy, smooth, and lightly sweet no-bake cream cheese layer that is finger licking delicious. It combines cream cheese, sugar, and cool whipped topping and is so easy to make.
- Top Layer (Topping) is a combination of frozen tart raspberries and sweet raspberry Jello (and don’t forget the water to make the jello). It’s light and refreshing and compliments the two other layers just perfectly.
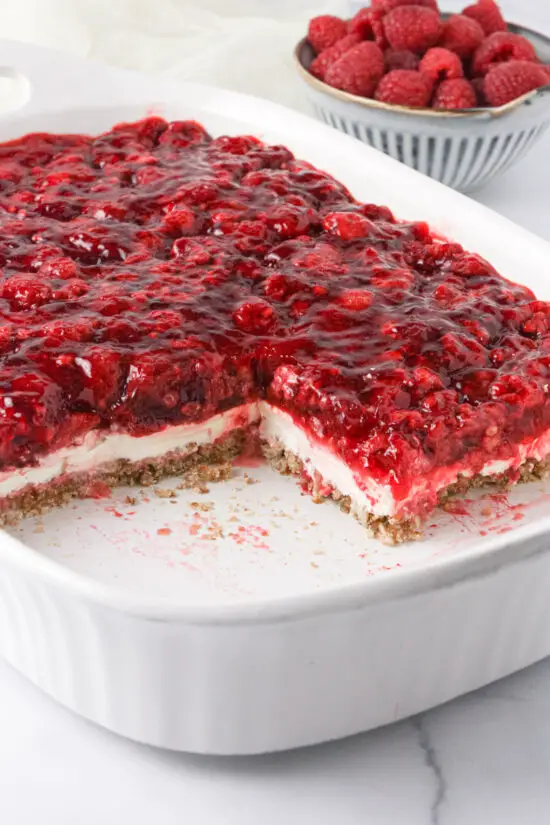
Can I make this Dessert with Other Fruit Flavors?
You sure can! For example, try subbing out the raspberry flavored jello for another fruit flavor. You could try orange flavored jello with frozen mandarin oranges. Or, cherry flavored jello with frozen cherries. Get creative here!
Can I Make this Dessert Ahead of Time?
Yes, you can. You can make the first two layers (bottom crust and middle filling) and freeze for up to two days. On the day you want to serve this dessert, take out of freezer and allow to fully thaw. Make the top raspberry jello layer as per directions and pour over filling and refrigerate for up to three hours or until jello mixture is set.
How to Store Raspberry Pretzel Salad
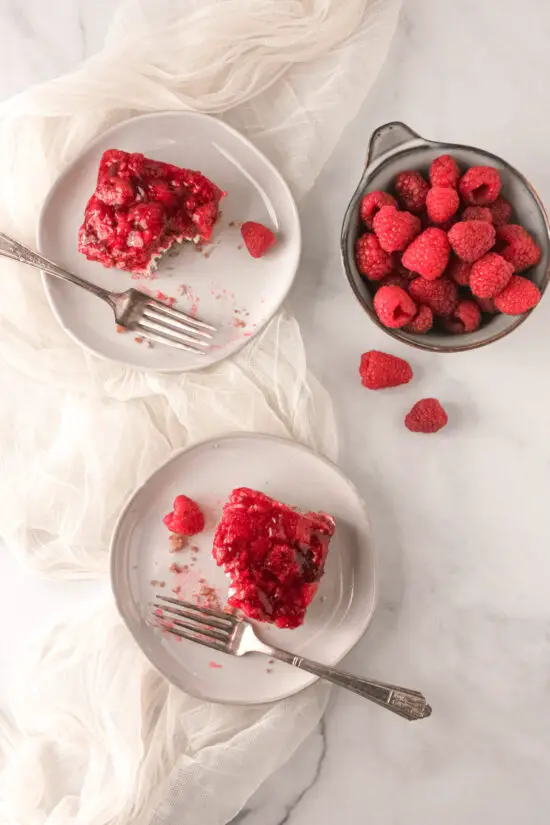
If you have any leftovers, they can be stored in the pan it was made in. Simply cover in plastic wrap and keep in the refrigerator for up to two days. Likewise, it can be stored in an airtight container and also stored in the refrigerator for up to two days.
If stored any longer, just know that the bottom pretzel layer does tend to get softer the longer it sits. It will still taste delicious, but wanted to specify that.
Also worthy to note, I would NOT freeze any leftovers because the jello does not thaw out very well. In other words, the consistency of the jello mixture will not be like when you first made it. So, make sure to only store in the fridge.
Pro Tips:
- Make sure the cream cheese is at room temperature- this helps to blend it with the other ingredients more easily.
- When spreading the filling (middle layer), make sure you use a spatula and spread mixture evenly and all the way around the edges to create a “seal” to prevent the top jello layer from leaking through.
- I know it’s tempting to want to dig in right away and eat this delicious dessert, however it needs time to chill well in order to set up. Give it about 3-4 hours to properly set up before eating.
- If you don’t have a high speed blender or food processor, no worries! Add the pretzels to a gallon size ziplock bag and seal it up. Crush up pretzels with a meat tenderizer or even a rolling pin until pretzels are finely crushed.
- Using frozen raspberries is best because it helps to cool the Jello down making it much quicker to pour over the filling layer. You can, of course, use fresh raspberries and it will still be delicious. It will take a little longer for the Jello to cool down, just so you know!
Raspberry Pretzel Salad
Ingredients
Method
- Preheat oven to 400°.
- In a high speed blender or food processor, blend pretzels until finely crushed. It's ok if there are a little larger pieces in the mix.
- In a bowl, combine crushed pretzels, sugar, and melted butter. Press into the bottom of a 9×13" baking pan. Bake for 15 minutes. Let cool completely. Should take about 30 minutes.
- In a large bowl, blend together the softened cream cheese and sugar until mixture is incorporated and smooth. Fold in the cool whipped topping until combined and creamy.
- Spread cream cheese mixture over cooled crust. Make sure to spread filling all the way to the ends of the pan and create a seal so that the top jello layer doesn't leak through.
- Meanwhile, make the jello layer. In a large bowl, mix Jello with one cup of boiling water and stir to dissolve completely.
- Add in one cup cold water and let mixture cool a bit in the fridge. About 10 minutes.
- Add in the frozen raspberries, give it a good stir and pour raspberry/jello mixture over filling and chill for about 3-4 hours or until jello has set.
- Makes about 12-15 servings depending on how big or small you cut the slices. Enjoy!
Nutrition
Tried this recipe?
Let us know how it was!Want more light and delicious fruity dessert recipes? Then, check out our very popular:
- Gluten-Free Lemon Cupcakes with Raspberry Frosting
- Refreshing Lemonade Cake
- Gluten-Free Strawberry Crunch Poke Cake
In the mood for more cheesecake desserts? These are our favorites:
If you make this recipe, please let us know your thoughts by leaving a rating and comment below!
And, don’t forget to share a picture and mention @thetickledtastebud on Instagram and tag us at #thetickledtastebud.
Want even more? Subscribe to our recipe email list (it’s free and easy) and follow us on Pinterest and Facebook.
Copyright © The Tickled Tastebud. All content and images are copyright protected. Do not use any images without prior permission. If you want to republish this recipe, make sure to re-write the recipe in your own words and only list ingredients making sure to like back to this post for the original recipe and directions.

Lori
This was delicious!
Lana
I can’t wait to make this!! Those pictures are mouthwatering!