Valentine’s Day is coming up soon! There’s no better way to celebrate than with chocolate. These Gluten-Free Red Velvet Whoopie Pies will surely satisfy that chocolate craving of yours.
These whoopie pies would be the perfect sweet treat to give to your significant other, friends, and family this Valentine’s Day.
These whoopie pies would also be great for Christmas, Mother’s Day, or even birthdays.
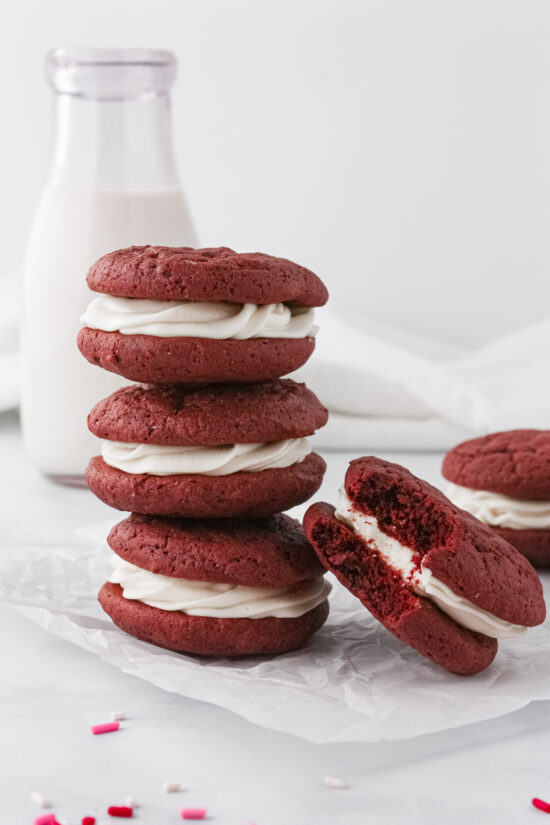
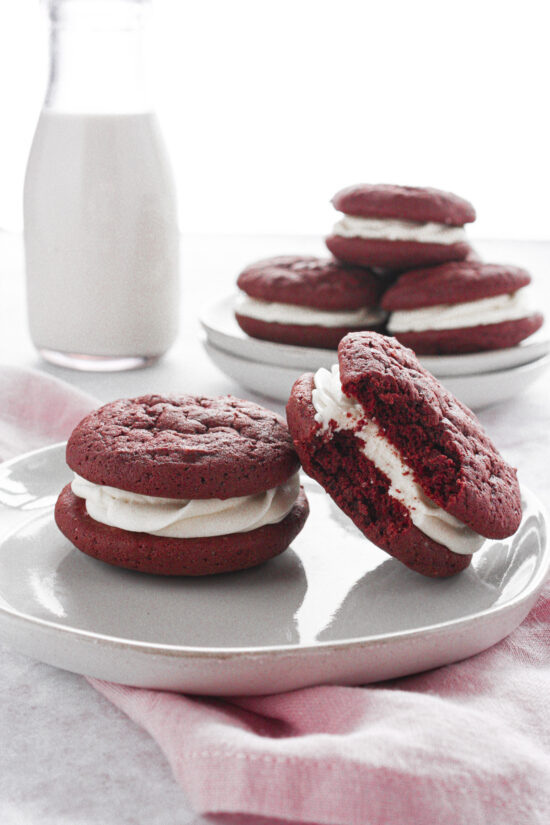
These red velvet cookies are light and soft with just enough chocolate flavor to satisfy your chocolate cravings.
The filling in between the cookies is a pillow-y soft cream cheese marshmallow frosting that pairs perfectly with the soft cookies.
Making Red Velvet Whoopie Pies
In a large bowl, and using a hand mixer, cream together softened butter and both sugars until light and fluffy. Should take about a minute or so.
Next, add in the egg, vanilla extract, and buttermilk. Continue to beat on medium/high speed.
Now comes the dry ingredients. Add in the salt, baking soda, unsweetened cocoa powder, and gluten-free all purpose flour and beat on high until ingredients are all combined.
Add enough red food coloring or red food gel to cookie dough until you reach desired intensity of color.
Lastly, It’s really important that you chill the cookie dough for at least an hour or hour and a half before you bake the cookies. This will result in fuller, thicker cookies.
If you don’t chill the dough you may find that your cookies become flat during the baking process.
Bake cookies at 350 degrees Fahrenheit for 11 minutes. Your oven runs differently, so keep an eye on your cookies.
Making the Cream Cheese Filling
In a medium sized bowl, cream the softened cream cheese and butter together until fluffy.
Next, add in the marshmallow crème and vanilla extract and beat on high until mixture is airy and light.
Add in the powdered sugar about 1/2 cup at a time so it doesn’t make a mess everywhere. Blend until all ingredients are incorporated and smooth in consistency.
For best results, pipe the cream cheese filling onto the cookie and top with another cookie to make a sandwich.
Be sure to check out some of our other Gluten-Free desserts, like our delicious Sugar Cookie Bars (Gluten-Free) and our Gluten-Free Lemon Cupcakes with Raspberry Frosting.
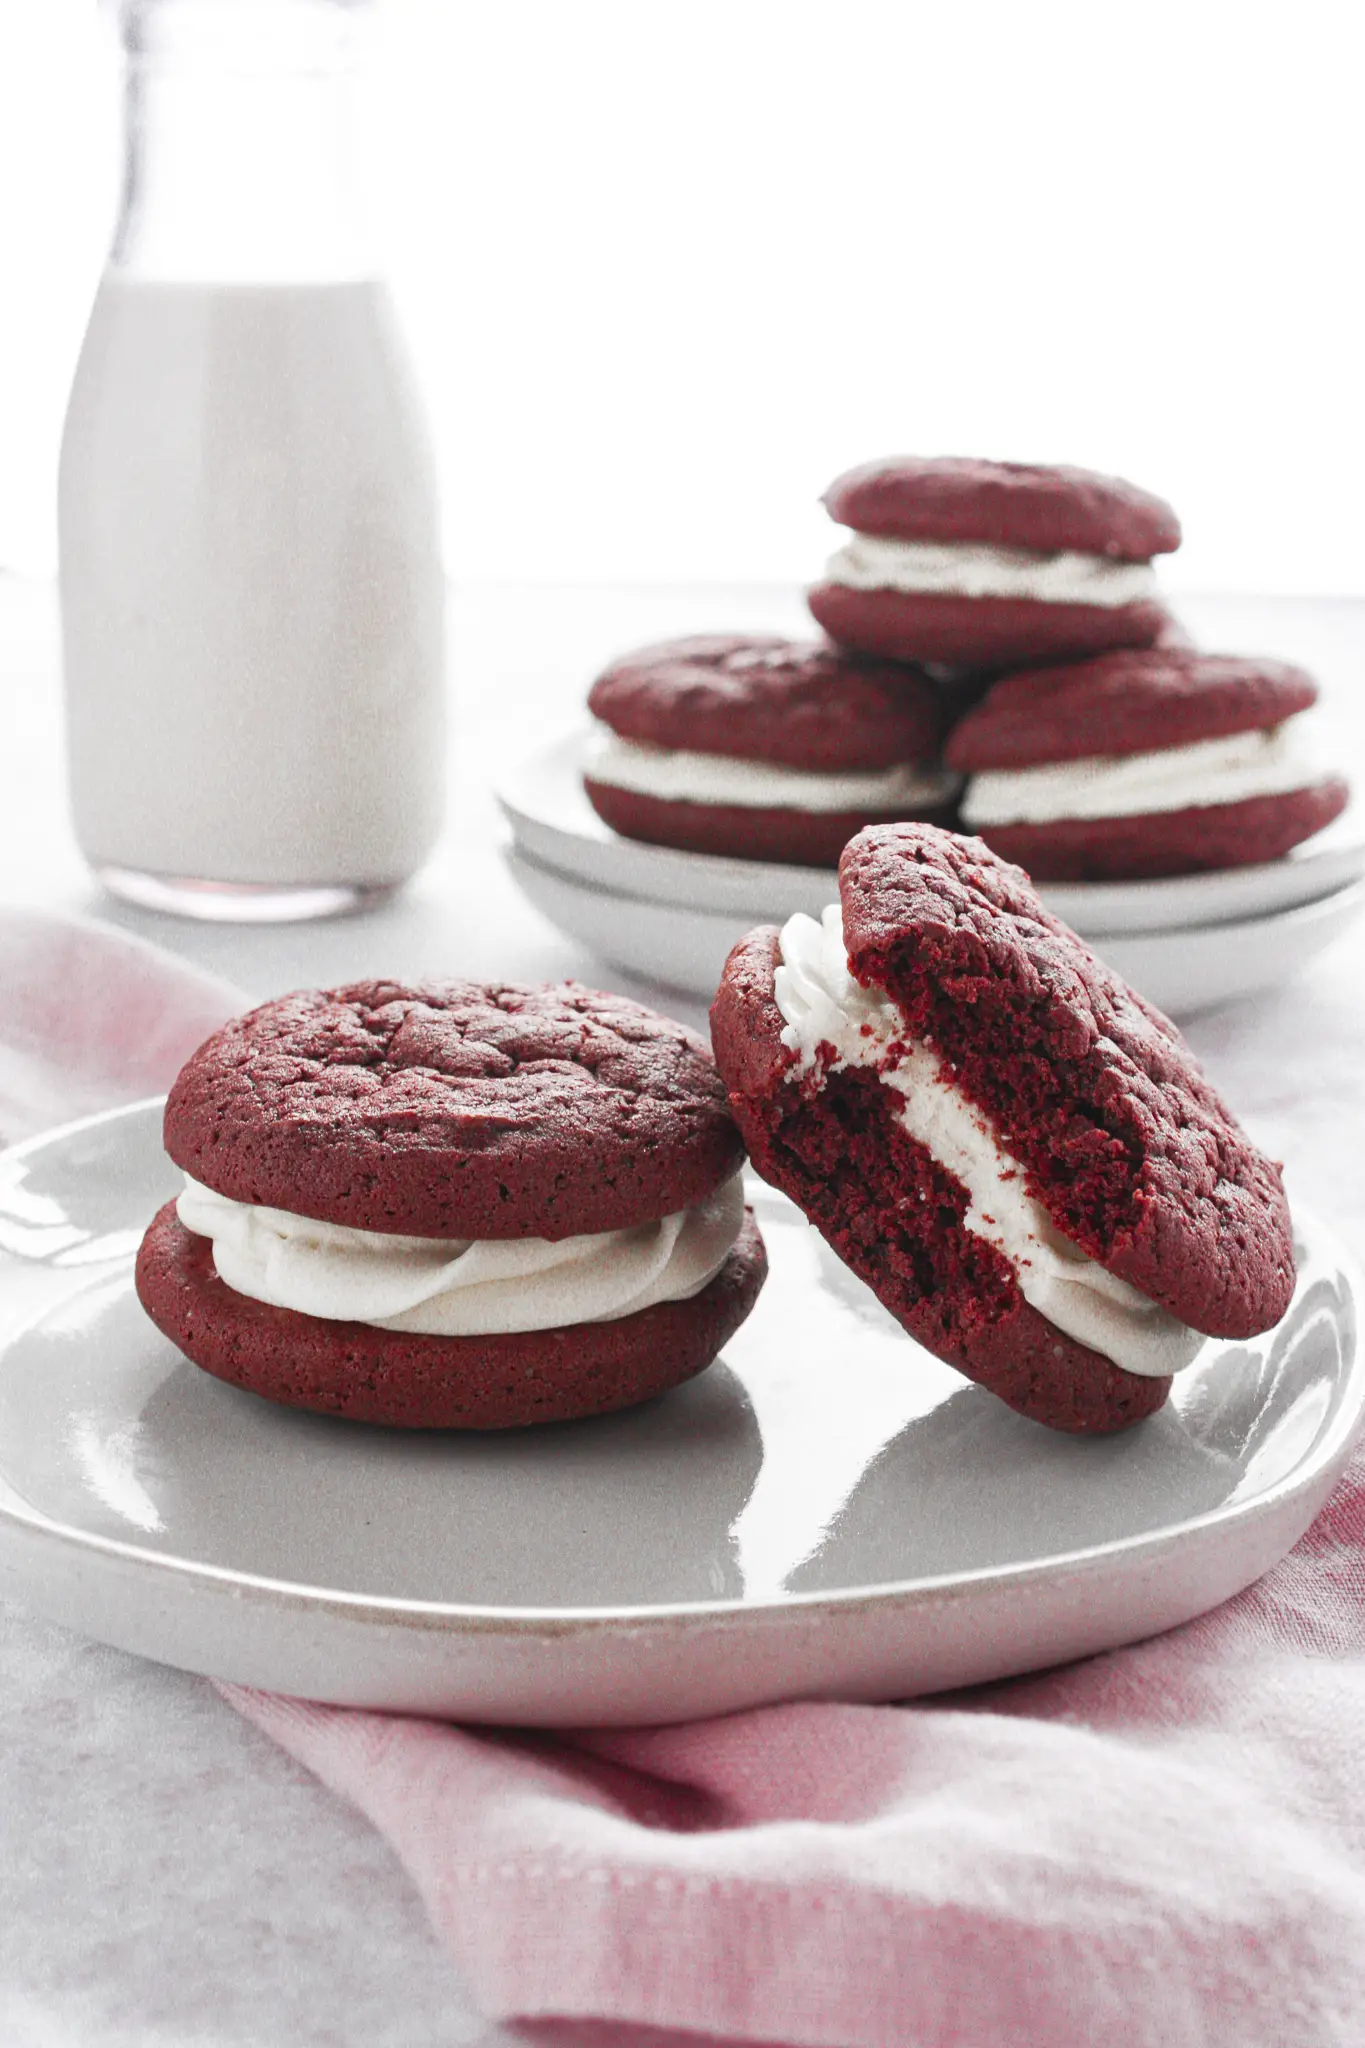
Red Velvet Whoopie Pies (Gluten-Free)
Ingredients
Equipment
Method
- In a large bowl, and using a hand mixer, cream together softened butter and both sugars until light and fluffy. Should take about a minute or so.
- Next, add in the egg, vanilla extract, and buttermilk. Continue to beat on medium/high speed.
- Now comes the dry ingredients. Add in the salt, baking soda, unsweetened cocoa powder, and gluten-free all purpose flour and beat on high until ingredients are all combined.
- Add enough red food coloring or red food gel to cookie dough until you reach desired intensity of color.
- Lastly, It's really important that you chill the cookie dough for at least an hour or hour and a half before you bake the cookies. This will result in fuller, thicker cookies.
- If you don't chill the dough you may find that your cookies become flat during the baking process.
- Bake cookies at 350 degrees Fahrenheit for 11 minutes. Your oven runs differently, so keep an eye on your cookies.
- In a medium sized bowl, cream the softened cream cheese and butter together until fluffy.
- Next, add in the marshmallow crème and vanilla extract and beat on high until mixture is airy and light.
- Add in the powdered sugar about 1/2 cup at a time so it doesn't make a mess everywhere. Blend until all ingredients are incorporated and smooth in consistency.
- For best results, pipe the cream cheese filling onto the cookie and top with another cookie to make a sandwich.
Nutrition
Tried this recipe?
Let us know how it was!We’d appreciate it if you would give this recipe a star rating if you made it. You can also comment down below and let us know what you think of these cookies.
Be sure to follow us on social media. You can find us on Pinterest, Instagram, and Facebook. Come say hello.
Make sure to save this picture to your Pinterest boards.

Happy Eating!
Copyright © The Tickled Tastebud. All content and images are copyright protected. Do not use any images without prior permission. If you want to republish this recipe, make sure to re-write the recipe in your own words and only list ingredients making sure to like back to this post for the original recipe and directions.

Elise
Hi! If I am making these the night before I am going to serve them, how do I store them overnight?
Marcie
I use a cookie scoop that’s about 1.5 inch in size. Or feel free to roll the dough any size you like.
Grace
About what size cookies do you typically do when portioning out the chilled dough?
Marcie
Hi Ann
In the recipe card, after chilling the cookie dough step number 7 says Bake cookies at 350 degrees Fahrenheit for 11 minutes. Your oven runs differently, so keep an eye on your cookies.
Hope that helps.
Kevin
Ann
Directions don’t include how to “make” the cookies once the dough is chilled????